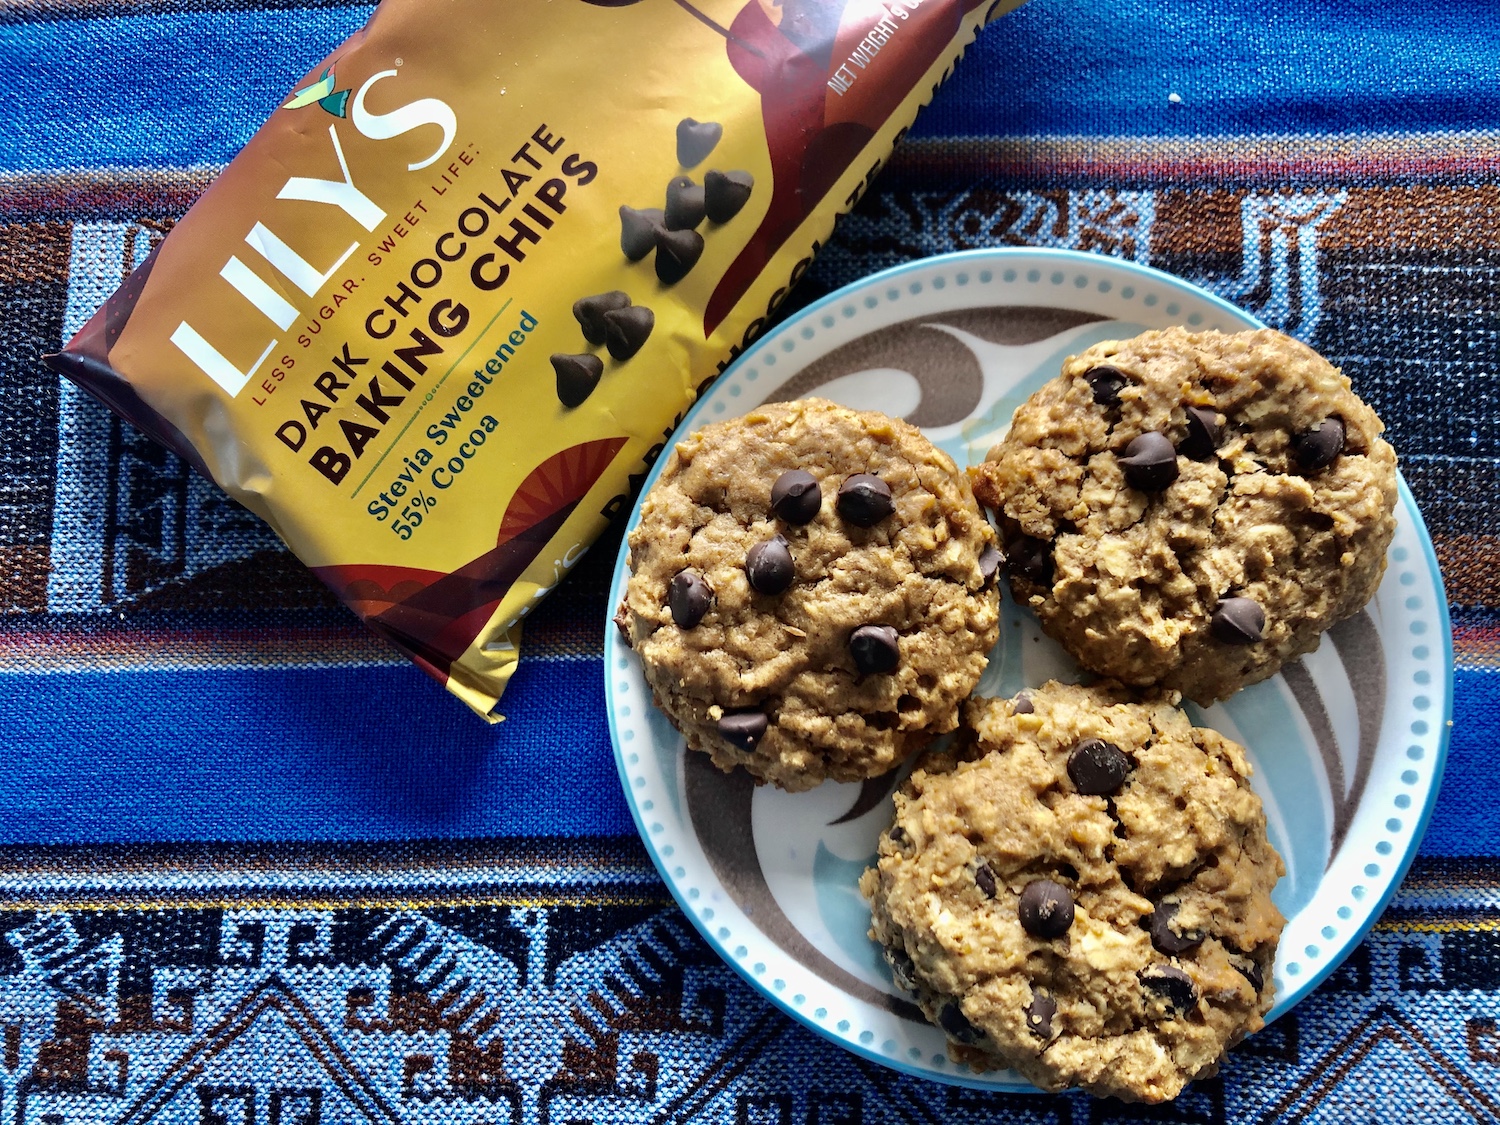
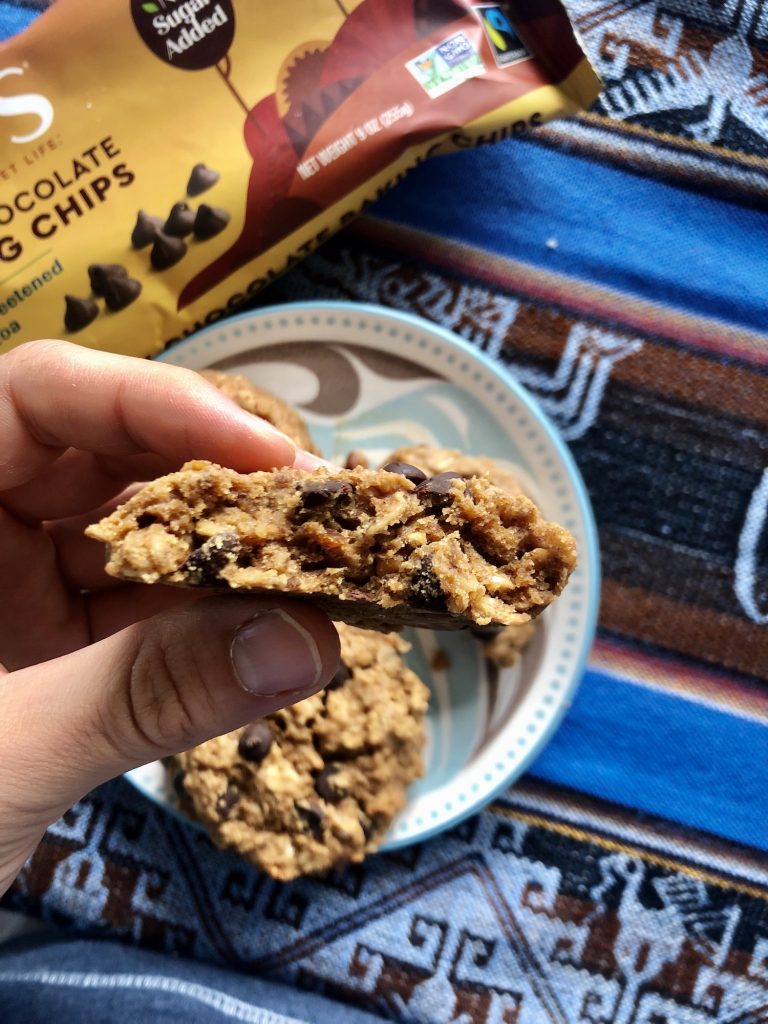
A delicious, nutrient-dense cookie that can pass as breakfast (well, not ideally, but we all have those days!). I always double batch and freeze half so I can have a quick on-the-go option for later.
Preheat oven to 350 F and line a baking sheet with parchment paper.
In a small bowl make flax eggs and let sit for 5 minutes, until gelatinous (2 eggs is 2 tbsp ground flaxseed mixed with 5 tbsp water)
Mix the wet ingredients in the bowl of a stand mixer (or by hand!).
Mix the dry ingredients in a separate bowl and then slowly add to wet mixture, a little at a time, mixing in between until fully combined.
Stir in the chocolate chips by hand.
Using a cookie scoop to spoon, drop 12-14 small cookies onto baking sheet, spaced out at least 1 inch. Press down slightly.
Bake for 15-18 minutes, or until golden brown on top.
Remove from oven and place pan on wire rack for 10 minutes, then pull the parchment paper off the cookie sheet onto the wire rack until cooled completely.
Store at room temperature for a few days, or in fridge or freezer for longer shelf life.
One of my favorite things to do is remake my favorite foods/treats into cleaner versions. I went gluten-free and dairy-free at 19 due to chronic health issues I was having that couldn’t be helped through conventional medicine. My IBS, anxiety, depression, and acne that had developed in my early teens only got worse in college, and the only solution ever offered was medication. I knew I was out of balance on multiple levels, but it wasn’t until my misery : motivation ratio got so high that I was finally willing to stop eating the standard American diet. My journey led me to my profession as a certified integrative medicine health coach and clinical hypnotherapist, and after 7 years cooking of cooking this way, quite a few recipes!
Healthy doesn’t have to be a hassle, and it certainly can taste as good, if not better, than the “real” thing. Side note: Isn’t it interesting that we call chemical-filled processed foods the “real” thing when this recipe is full of actual REAL ingredients? Might be time to rethink that.
This is a new favorite recipe that I hope you enjoy!
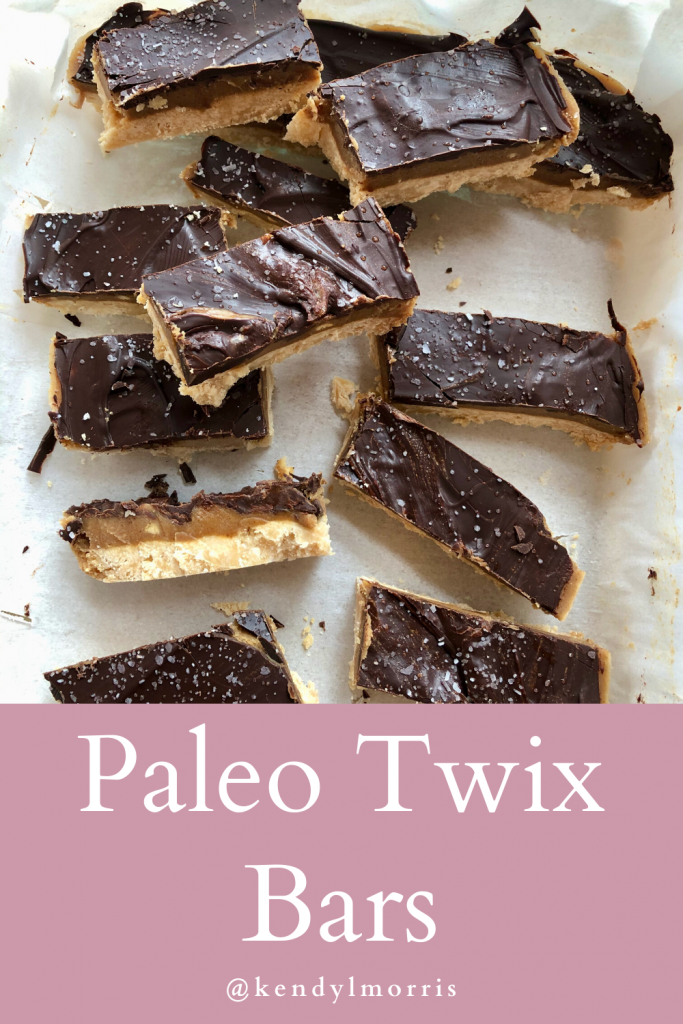
Ingredients
Shortbread layer:
1 cup almond flour
3/4 cup arrowroot flour
1/2 cup coconut flour
1/2 cup melted coconut oil
1/3 cup maple syrup, honey, or monk fruit maple syrup
Pinch of sea salt
Caramel layer:
3/4 cup almond butter, or other nut butter of choice
1/2 cup full-fat coconut milk
1/3 cup coconut oil
2 tsp vanilla extract
1/2 cup maple syrup, honey, or monk fruit maple syrup
Pinch of sea salt
Chocolate layer:
1 cup chocolate chips or chocolate bar
1 tbsp coconut oil
1/2 tsp flakey sea salt
Instructions
Preheat oven to 350 degrees F. Line a 8×13 pan with parchment paper so that it extends over the edges.
Make the shortbread: mix all ingredients until no clumps remain. Press/spread the batter evenly into the prepared pan and bake for 12-14 minutes, or until golden brown.
In a saucepan over medium heat, combine the caramel ingredients until completely melted. Cool completely on counter.
Melt the chocolate and coconut oil over low heat on stove until fully melted. Cool.
Once the shortbread and caramel layer are completely cool, pour caramel over shortbread and place in freezer for 1 hour, or until completely hardened.
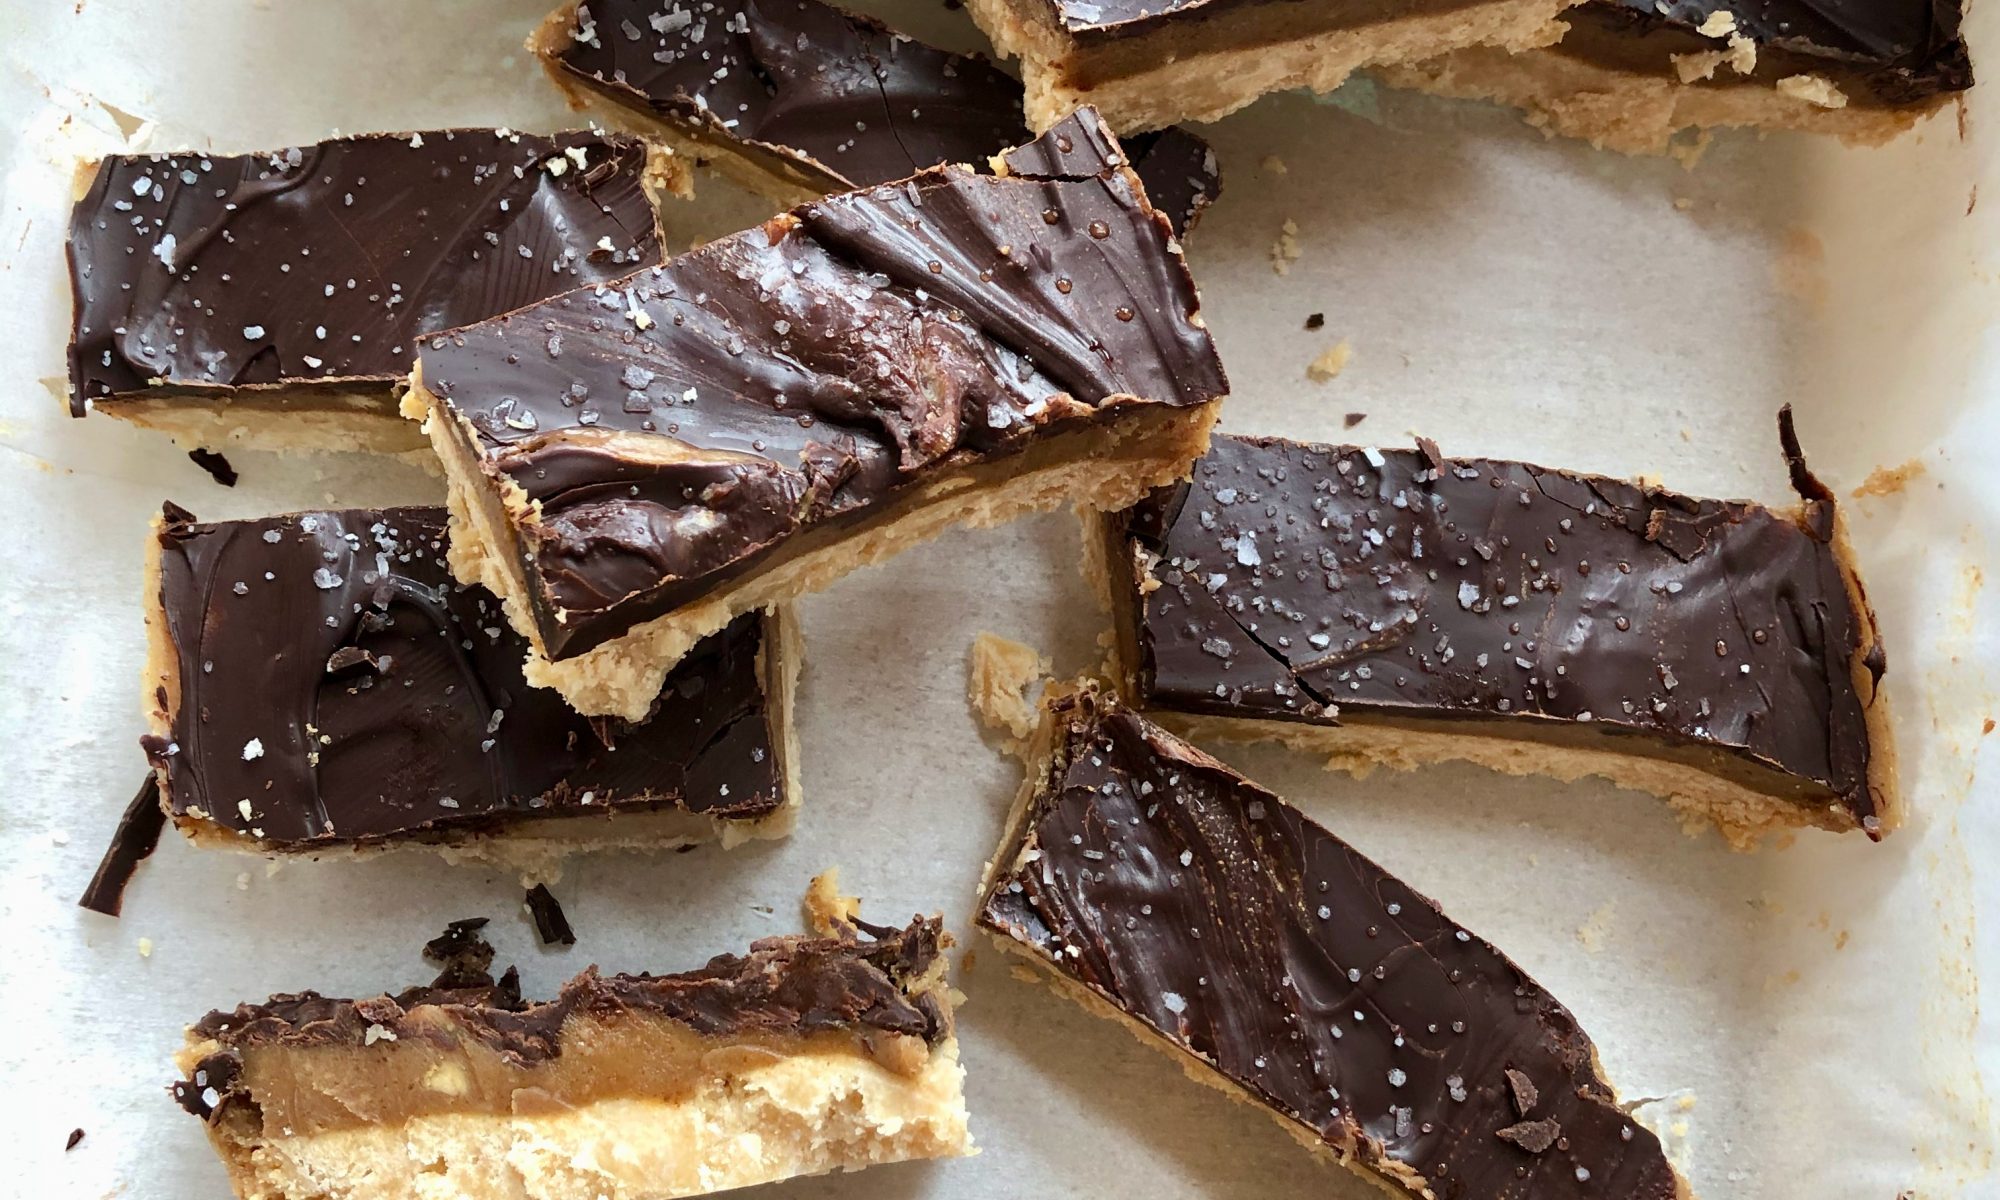
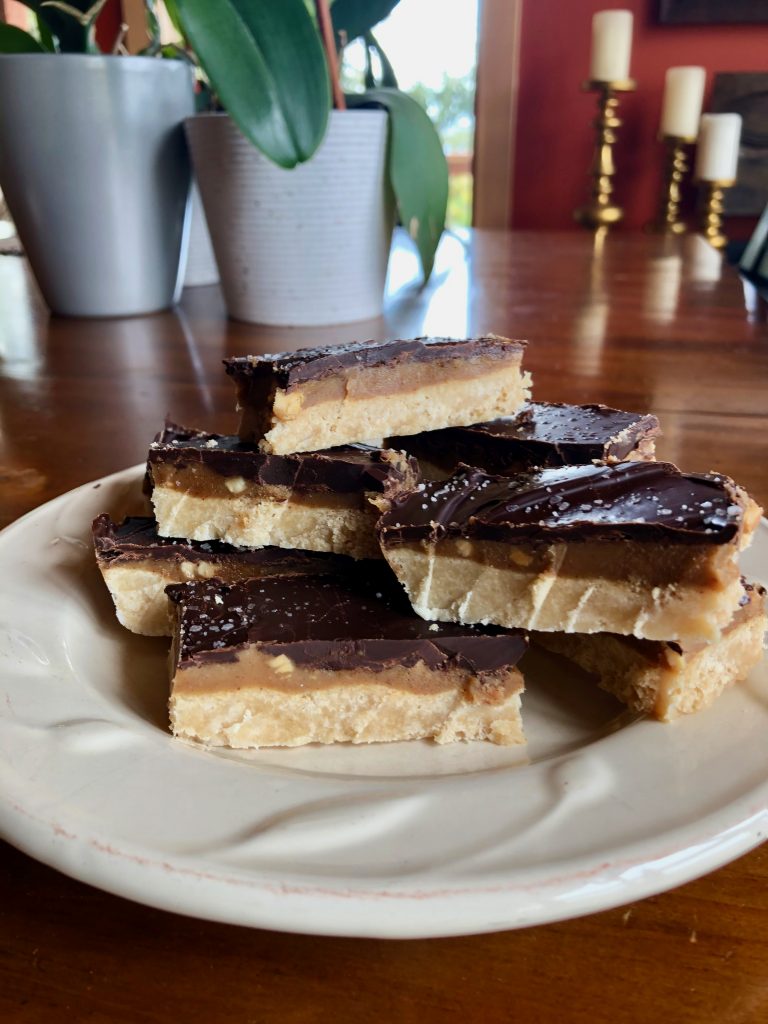
Pour melted chocolate over the top, sprinkle with flakey salt, and place in fridge for 10-15 minutes until hardened.
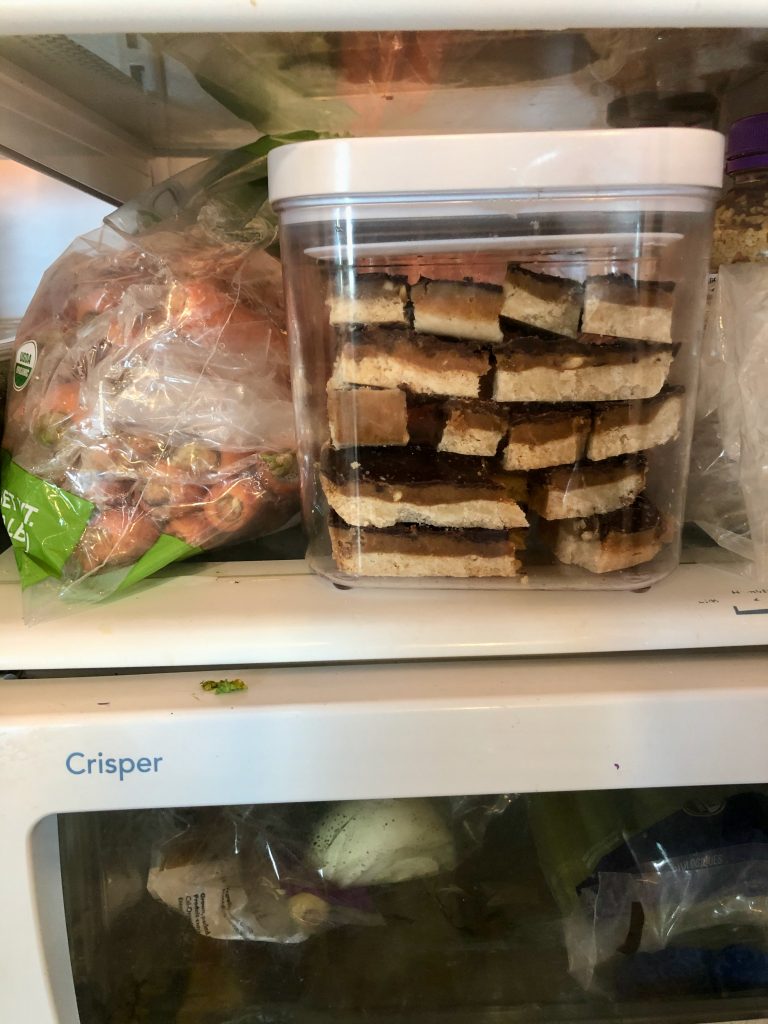
Slice into long pieces and enjoy! Can be be stored in air-tight container in fridge for a week, or the freezer for 2 months.
Notes: can make a half-batch by halving the ingredients, or double by doubling.
I’m a sucker for Thai food but one of the first indicators that I had IBS came in the form of cramps after eating out (which was almost always Thai). Eventually I discovered SIBO and gluten-intolerance to be at the root of my IBS symptoms (and have now since eliminated them through Functional Medicine), which means I rarely eat out. It’s taken a long time to perfect my curry recipe because the restaurant-made curries are often loaded with sugar, but now that I’ve found a curry paste I love and a method that works, this has become a weekly menu item at home.
I always double this recipe because the leftovers keep really well and always go quickly! You can sub any veg you’d like but try to cook the harder veg first like in this recipe so that it’s all cooked evenly at the end. You can also use any curry paste you like, but I HIGHLY recommend the linked brand. The curry paste you use makes ALL the difference in the flavor. You could also sub chicken or shrimp if you prefer that to garbanzos – I’m not vegan but I do try to eat at least 70% plant-based (which means a couple of vegan dinners every week).
If doing low carb, use meat instead of garbanzo and serve over greens instead of rice.
Ingredients
1/4 cup coconut oil, avocado oil, or olive oil
1 cup chopped carrots
1/2 cup diced onion
2 cup broccoli chopped (stems and florets divided)
Wild rice, quinoa, or greens to serve over (enough for 4-6 servings)
Instructions
Cook wild rice or quinoa according to package.
Add 3 tbsp of the coconut oil (reserving 1 tbsp for garbanzo beans) to large skillet or wok and set to medium heat.
Add carrots and sauté for 3-5 minutes.
Stir in onions, broccoli stems, garlic, and ginger, sprinkle with salt, and sauté for another 3 minutes.
Add the broccoli florets, bell pepper, and red cabbage.
Stir in the curry paste and sauté for 2 minutes.
Add coconut milk and bring to a boil. Reduce to a simmer and cook for 7-10 minutes, or until veggies are cooked to your liking. I prefer them more al dente and usually simmer for about 8 minutes. Stir in half the cilantro (1/4 cup) and peas midway through.
While the curry is simmering, heat the remaining 1 tbsp coconut oil in a medium skillet at medium high heat. Add the garbanzo beans, and the remaining 1/4 cup cilantro, 1 tbsp ginger and 1 tbsp garlic. Sprinkle with salt and fresh pepper.
Cook the garbanzos until golden brown, stirring often. It should only take about 5-8 minutes and be ready at the same time as the curry.
Once the curry is almost done, stir in the coconut aminos, lime juice, and coconut sugar. Taste and add more of any of these if needed.
Serve curry over wild rice, quinoa or greens and top with garbanzos. Garnish with cilantro and serve hot. Enjoy! Leftovers keep well for 4 days.
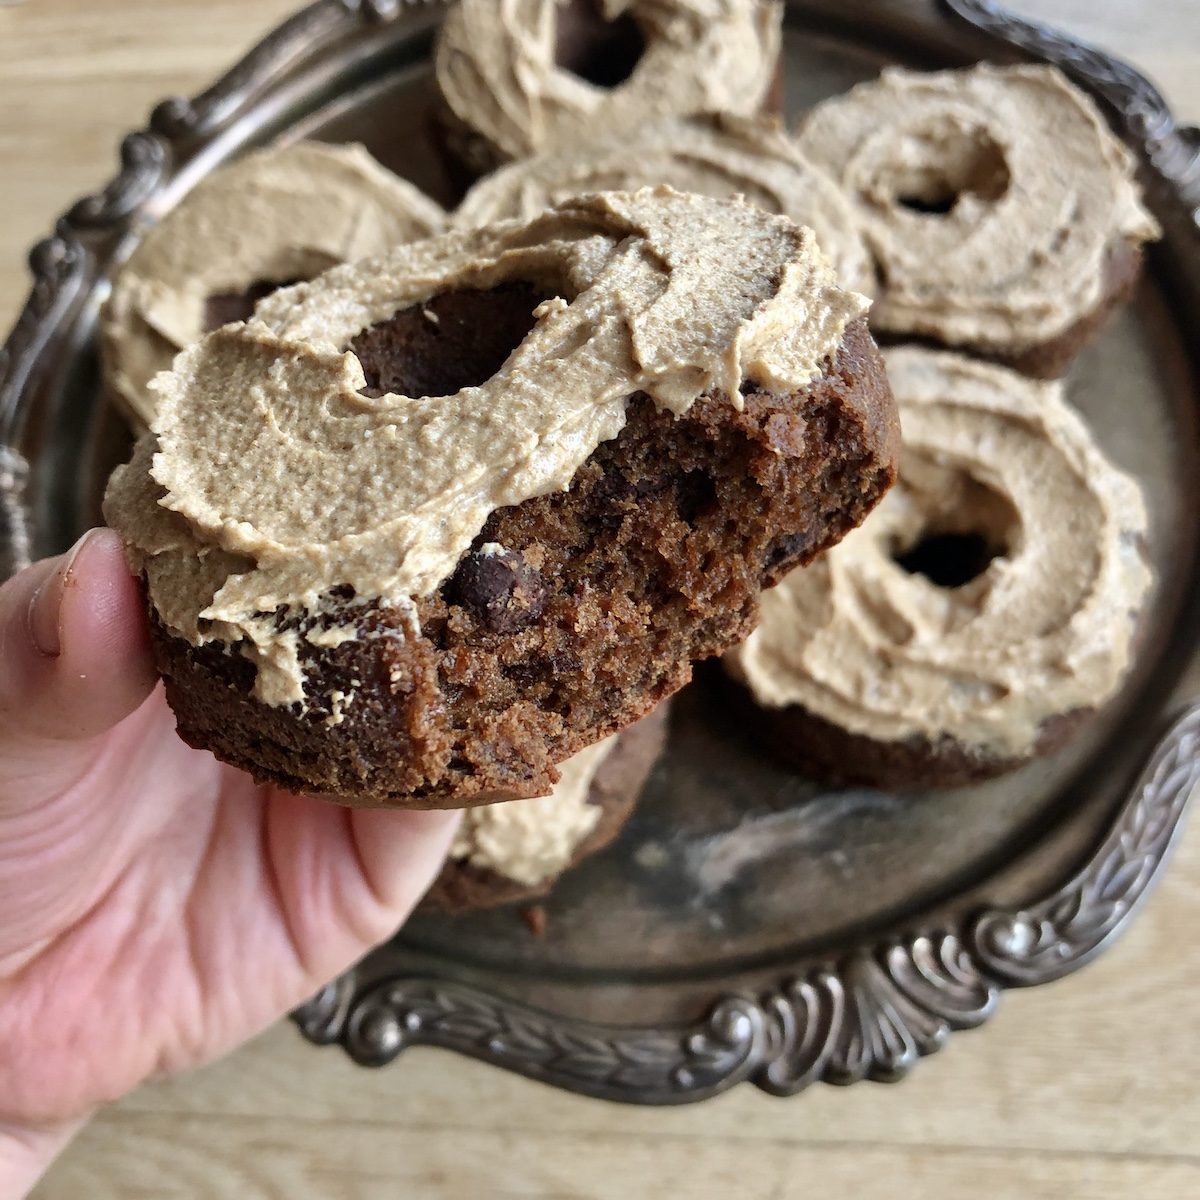
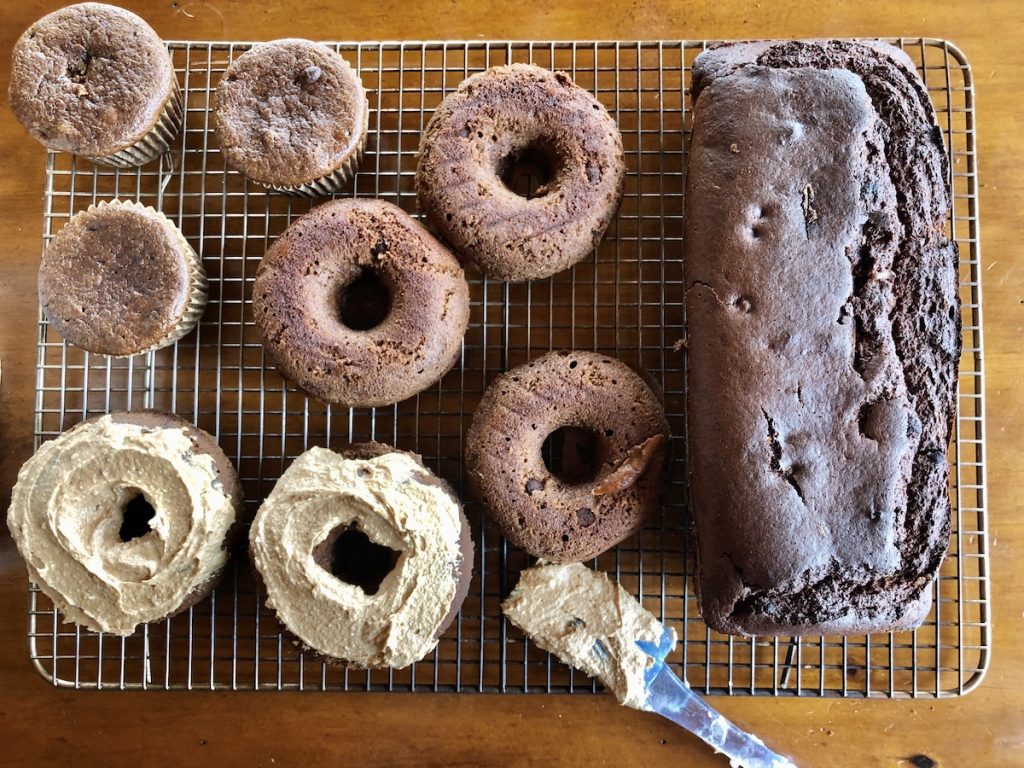
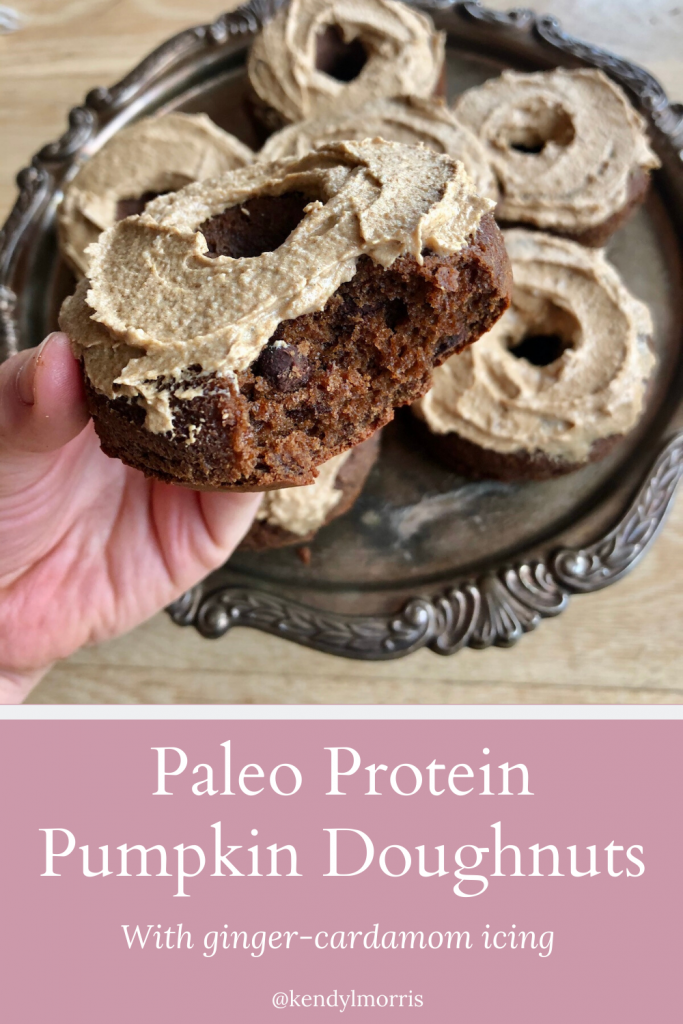
This recipe is almost too good to be true. You can make it into doughnuts, bread, or muffins, and top with an irresistible frosting if you want to make it a little more dessert-y. I love adding protein powder and collagen to recipes, especially when you can’t even taste it, like with these.
Place a rack in the center of your oven and preheat the oven to 350 degrees F. Lightly coat a silicone doughnut mold, line a muffin tin with liners, or spray 8×4-inch loaf pan with nonstick spray – line with parchment paper so that the paper drapes over the sides like handles, then lightly coat with spray again.
In a large bowl, stir together the almond flour, protein powder, arrowroot, collagen, salt, baking soda, and pumpkin spice. In bowl of stand mixer, whisk together pumpkin, maple syrup, coconut sugar, ghee, nut butter, and vanilla. Mix on medium and crack eggs as it’s mixing.
Add the dry ingredients and mix again until well combined. Fold in any desired mix-ins.
For doughnuts and muffins: Fill ⅔ full and bake for 20-25 minutes, or until knife comes out clean. For bread: Scrape into the prepared loaf pan and smooth the top. Bake for 42 to 48 minutes, until a toothpick inserted in the center comes out clean. Place the pan on a wire rack and let cool 30 minutes. Gently lift out the bread with the parchment overhang and place on the rack to finish cooling completely. The doughnuts are more tender so let them cool for at least an hour before gently pushing the bottom of the silicone mold to wiggle the doughnuts free.
To make glaze: melt cacao butter in a saucepan on low. Remove from heat and whisk in rest of ingredients, except fresh ginger. Alternatively cream palm shortening with remaining ingredients. Drizzle (or spread frosting) over cooled bread, muffins, or doughnuts. Zest fresh ginger over the top. Place in fridge for 10 minutes to solidify and store for up to 5 days.
You can also pre-slice the bread without icing and store in the freezer for quick toast.
Preheat oven to 350 F and line a baking sheet with parchment paper or a silicone mat.
In a stand mixer or medium bowl, mix the nut butter, coconut sugar, vanilla, and eggs until smooth
Add the rest of the ingredients and mix well, folding in the chocolate chips last
Roll into 12 balls and flatten slightly. Place 1 inch apart on baking sheetBake for 10-14 minutes, or until golden brown on top
Cool on baking sheet for 10 minutes, then place on wire rack until cooled completely.
Tag me on Instagram if you make them and hashtag to spread the love 🙂 @kendylmorris #powercookies
Notes- Double or triple recipe and freeze dough or cookies for up to 6 months. Bake as instructed for dough, or eat cold / thawed for pre-baked cookies.
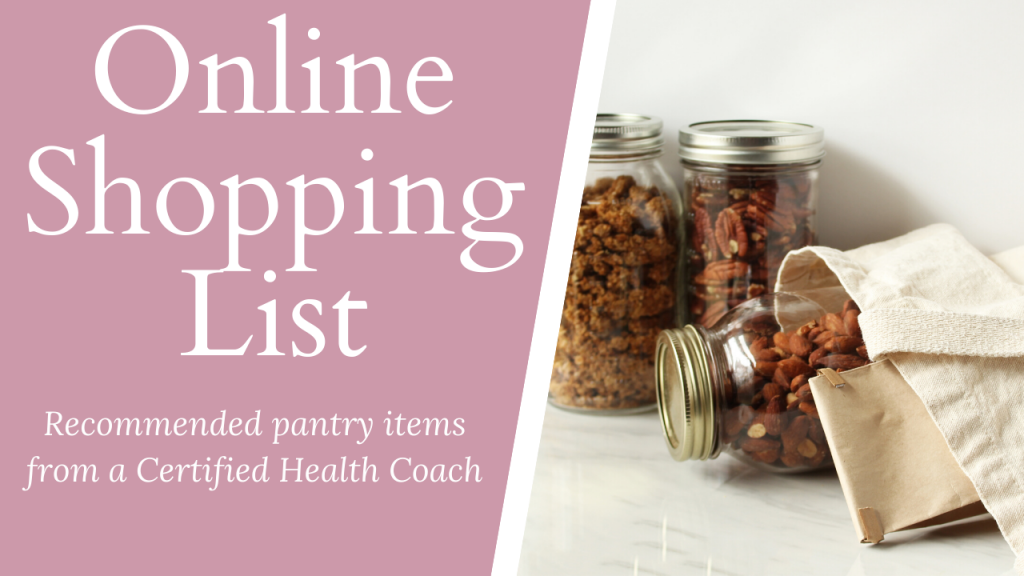
Need help cleaning out your pantry? Check out the below link to see all my favorite clean products.
Full of protein, healthy fats, and all that pumpkin spice goodness you’re craving this autumn. With a sugar-free option these babies hardly count as dessert! As a Certified Integrative Medicine Health Coach I would definitely place these in the “healthy snack” category. 🙂
Like many of my recipes these babies can be frozen if you want to make extra for later. I try to optimize my time by doubling or even tripling recipes to have for later. If I’m in a rush, I grab one of these or my Power Cookies from the freezer (and wait 5-10 minutes or so if I don’t want it too cold).
Preheat oven to 350 F and line a baking sheet with parchment paper or silicone mat.
Cream together butter and coconut sugar in the bowl of a stand mixer or with hand beaters. Blend on medium until creamy.
Add the rest of the wet ingredients and blend until smooth.
combine dry ingredients in separate bowl and then slowly mix them into wet ingredients.
Fold in chocolate chips.
Use a cookie scoop or spoon to make 12 balls and flatten very slightly. Add a few chocolate chips to the tops of the cookies for aesthetic.
Bake for 12-15 minutes, or until golden brown. Less time for soft cookies, more time for slightly crunchy on the outside but soft on the inside cookies.
Cool for 10-15 minutes and and enjoy!
Will keep for 3-5 days on the counter and in the freezer for 3 months.
Fall has officially arrived and is distinctly marked by all of the “PSL” advertising, deliciously fragrant pumpkin candles lining store checkouts, and abundance of Uggs warming cold toesies.
I officially made “the switch” from a standard American diet to a 90% paleo diet in 2014 in an effort to get to the root of my anxiety, IBS and depression (I still eat rice and corn here and there on special occasions, but the bulk of what I eat is veggies and clean animal proteins…and chocolate). Eliminating these foods is one of the main reasons why I feel so much more balanced, all without prescription drugs. Western doctors told me my imbalances were genetic and that my food had no influence, but that medication would help with my chronic symptoms. Well, I proved them wrong, just like so many of you who are taking your health into your own hands. Within weeks of eliminating gluten, dairy, sugar and coffee (in conjunction with hypnotherapy), I felt better than I had in years.
However, I still grieved the foods I had grown accustomed to eating. I remember the first Fall when I realized I couldn’t order a pumpkin scone or pumpkin spice latte at Starbucks. This was a tragic moment in my life – what is Fall without PSL?! I even prepared by wearing my Uggs and Lululemon!
To re-convince myself about why I was eliminating this stuff, I decided to look up what was in the pumpkin syrup used in the infamous PSL. In an effort to make the transition easier, I had started recreating some of my favorite comfort foods (like chocolate chip cookies) and found seeing the ingredients was a helpful place to start. In my blissful ignorance, I was shocked when I read the nutritional labels for the scone and latte. At the time, they were using high fructose corn syrup and caramel coloring in their recipes – both of which are carcinogenic and cause developmental delays. They’ve since omitted caramel color but still use high-fructose corn syrup in most of their popular recipes. You can read more about the dangers of caramel coloring here, because even though Starbucks has taken it out of recipes, it’s still hidden in all kinds of products, from cough drops to condiments, as shown below.
The more you learn about the food industry, the more you realize you have to take your health into your own hands. Companies are getting away with putting toxic chemicals in foods that children eat, all for the sake of aesthetic. So please, read your labels and be a responsible consumer, for the sake of your health and the health of future generations.
This pumpkin bread recipe is obviously free of anything inflammatory or toxic, and instead is loaded with nutrient-dense ingredients that will not only fuel you, but will also satiate the craving you have for something fall-y! I always double the recipe and freeze some pre-sliced pieces to pop in the toaster at any time. I found an organic maple butter that is to die for and it goes perfectly on a piece of toasted pumpkin bread. And guess what? It has one ingredient: maple syrup. Guess how many ingredients Starbucks pumpkin scones have? 39. Yep. And those ingredients include soybean oil, high fructose corn syrup, wheat, dairy, and a truckload of preservatives, all of which contribute to chronic inflammation and disease. There’s a reason why people feel SO much better when they eliminate these foods. You are what you eat, so choose wisely 🙂
Place a rack in the center of your oven and preheat the oven to 350 degrees F. Lightly coat a 8×4-inch loaf pan with nonstick spray, line with parchment paper so that the paper drapes over the sides like handles, then lightly coat with spray again.
In a large bowl, stir together the almond flour, protein powder, arrowroot, collagen, salt, baking soda, and pumpkin spice. In a separate bowl or stand mixer, whisk together the eggs, pumpkin, maple syrup, coconut sugar and vanilla.
Slowly combine the dry ingredients with the wet ingredients. Fold in any desired mix-ins.
Scrape into the prepared loaf pan and smooth the top. Bake for 42 to 48 minutes, until a toothpick inserted in the center comes out clean. Place the pan on a wire rack and let cool 30 minutes. Gently lift out the bread with the parchment overhang and place on the rack to finish cooling completely. Slice and enjoy with ghee, grass-fed butter or my personal favorite, maple butter.
Notes: double and freeze pre-sliced pieces that you can toast whenever you want. Will keep well in freezer for 3 months.