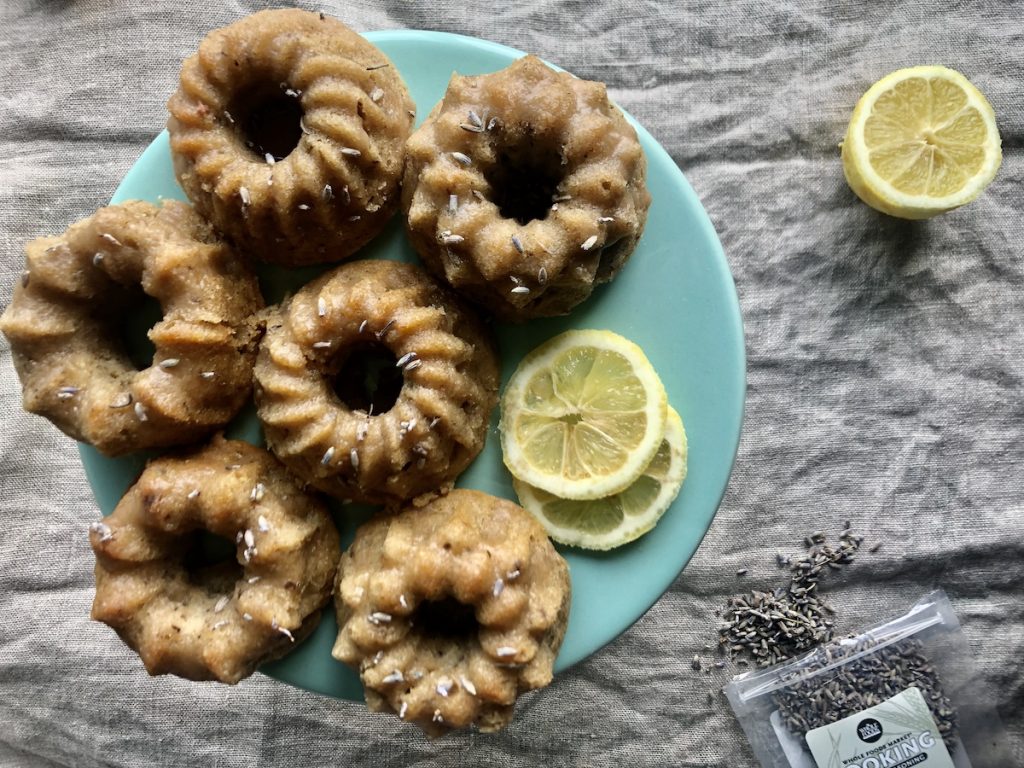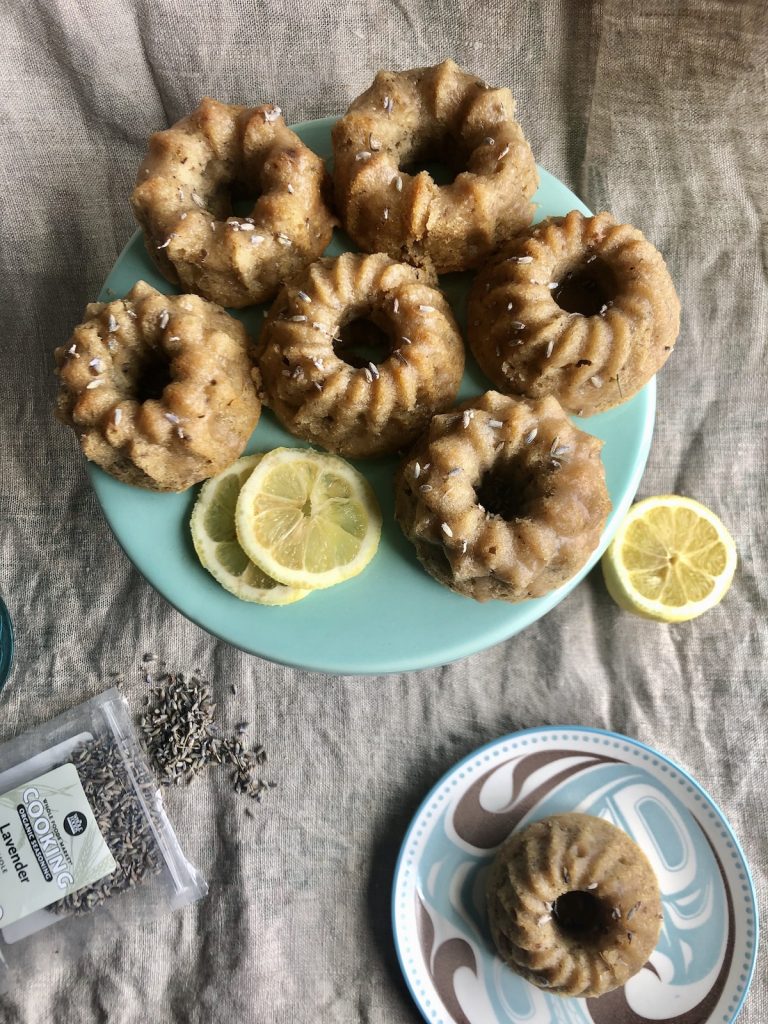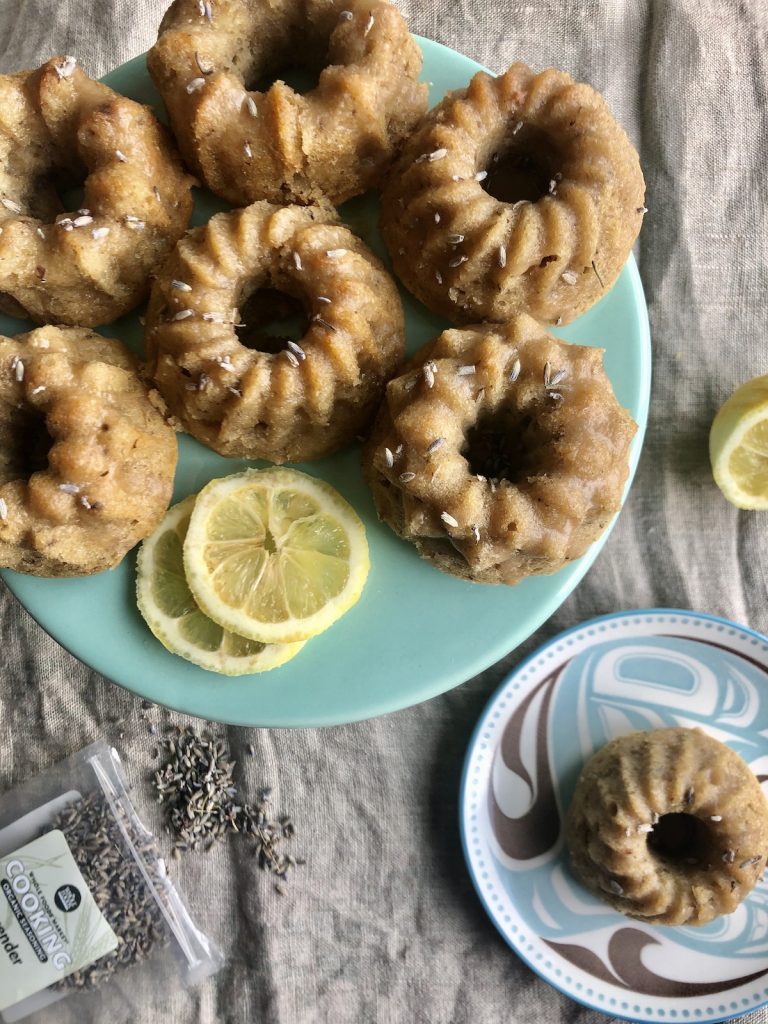
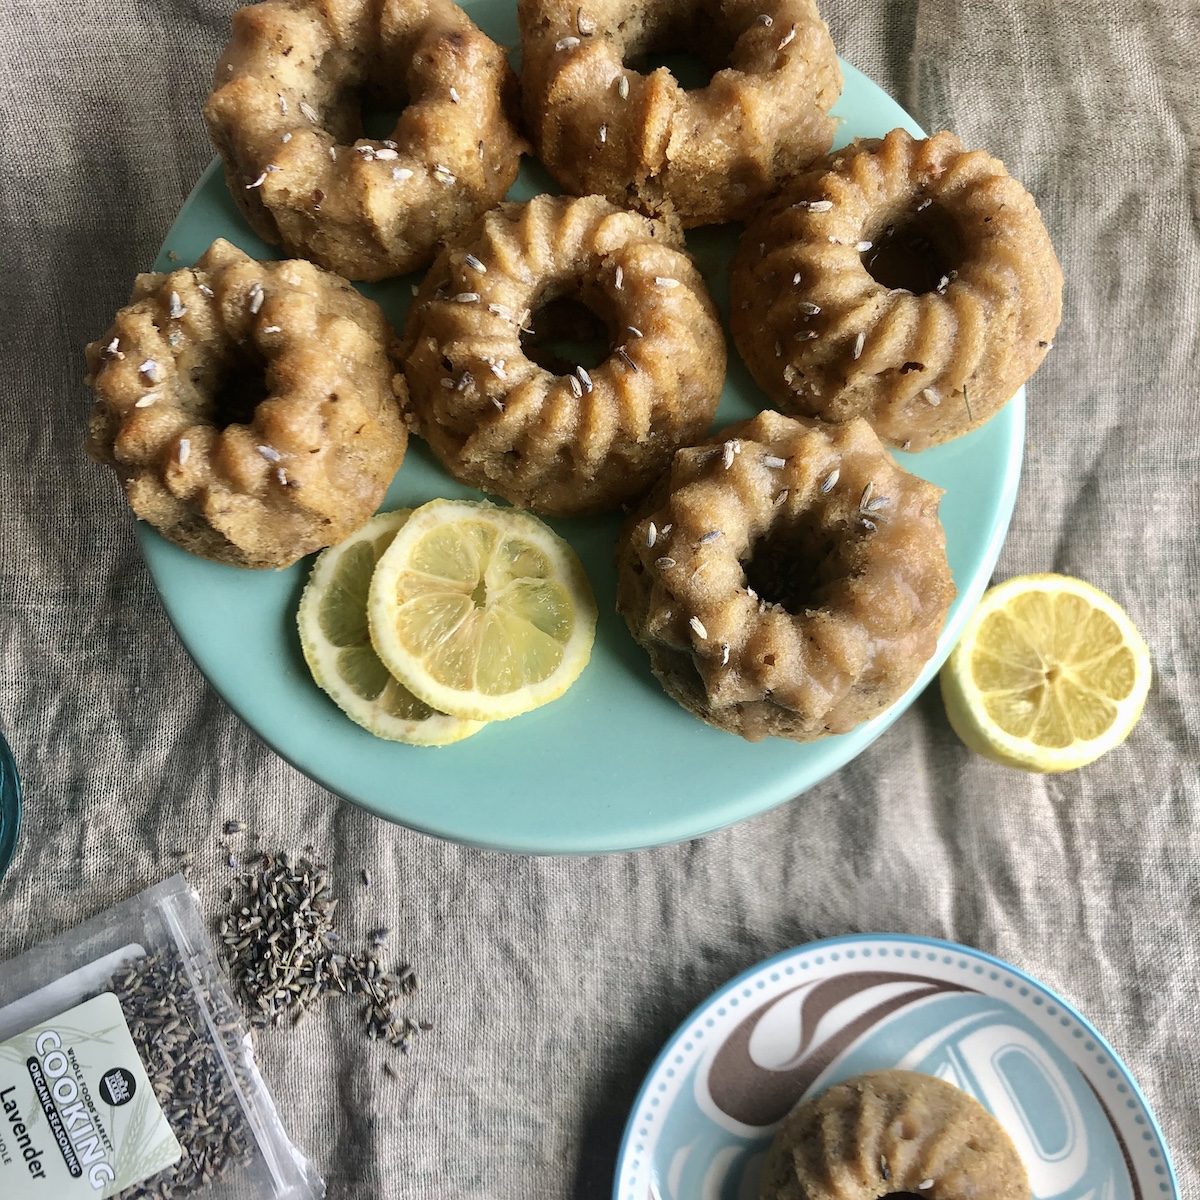
Lavender-Lemon Mini Bundt Cakes
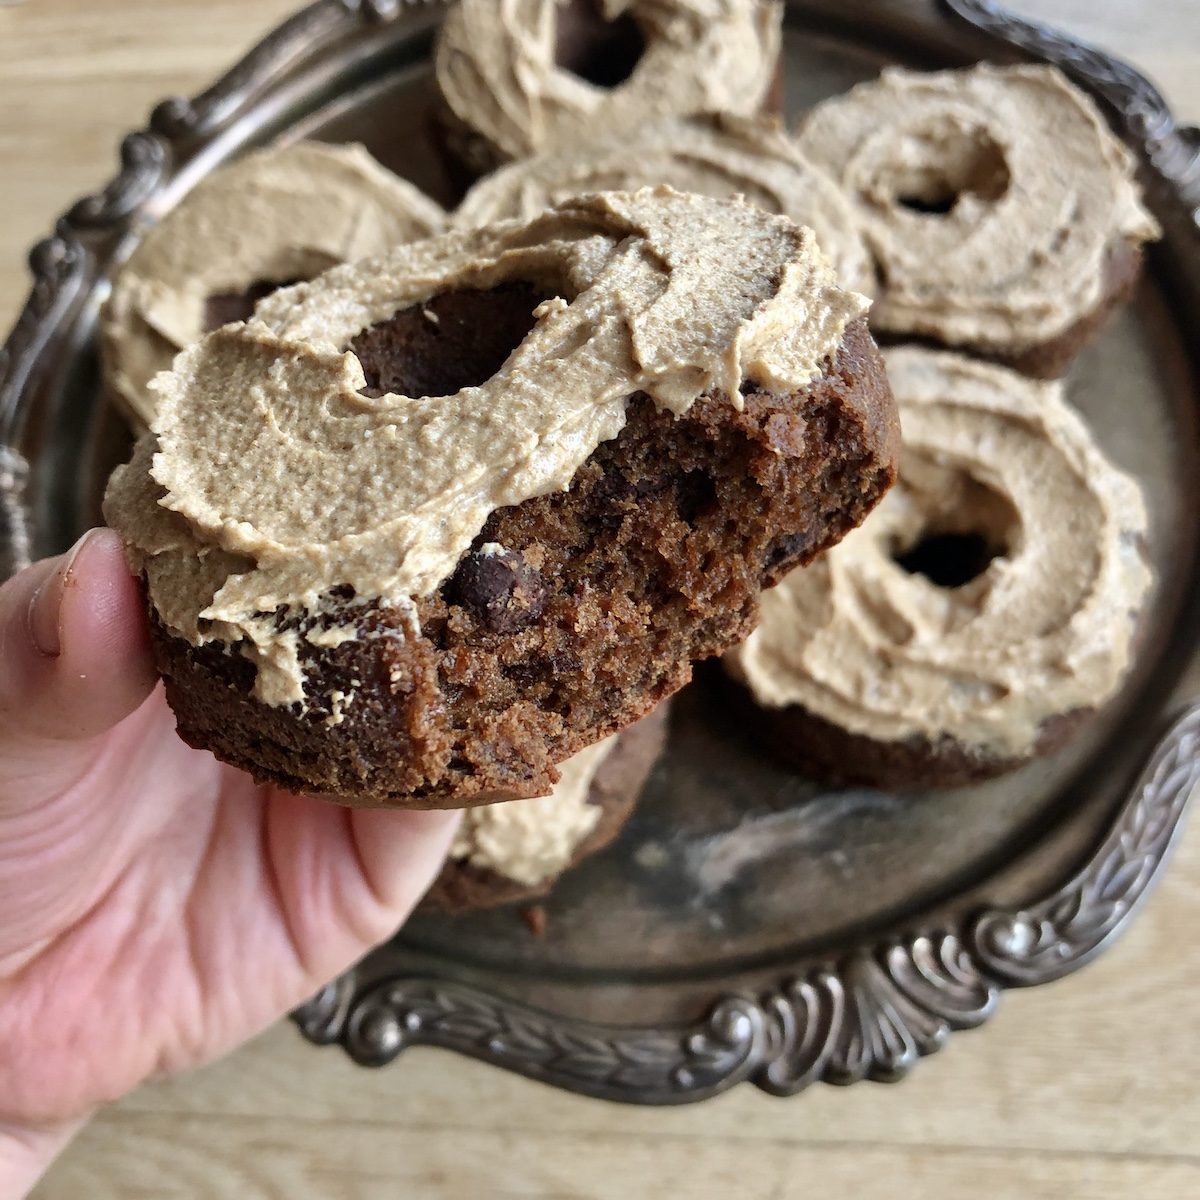
Lemon and lavendar are two of my favorite smells and flavors and they blend perfectly in these delicous gluten-free bundt cakes. You can sub almond flour for the oat flour to make these 100% paleo, and use whole eggs if short on time. The whipped egg whites just make these a bit lighter. See notes for other baking options (muffin, loaf, doughnut) if you don't have a mini silicone bundt pan.
Servings: 12
Equipment
- silicone mini bundt molds or muffin mold, hand mixer or stand mixer, blender
Ingredients
- 1 cup oat flour
- 2 cups almond flour
- 1/2 cup arrowroot flour
- 1 tsp baking soda
- 1/4 tsp sea salt
- 2 tbsp cooking lavender
- 1/2 cup palm shortening melted but not hot (or ghee / coconut oil)
- 15 drops monk fruit
- 1/4 cup Lakanto maple syrup maple syrup, or raw honey
- 1/4 cup lemon juice
- Zest from 1 large lemon about 2 tbsp
- 1 tsp vanilla extract
- 4 egg whites
- For glaze:
- 1/2 cup powdered monk fruit maple sugar, or coconut sugar (to powder, blend 1 cup sugar with 1 tbsp arrowroot in high-powered blender until light and fluffy)
- 2 tbsp coconut oil melted
- 3 tbsp full-fat coconut milk
Instructions
- Preheat oven to 325 F and spray a silicone baking mold with avocado oil spray. (Or grease by hand with any fat)
- Place the flours and dried lavender in a blender and pulse until lavender has broken into small pieces.
- Place egg whites in a stand mixer (or bowl with hand mixer) and mix on high until light and fluffy (small peaks should form).
- Add the wet ingredients, except whites, to the blender and process until smooth (you may need to mix by hand if it gets stuck).
- Transfer to large bowl and fold in the egg whites, being careful not to over-mix.
- Pour into prepared baking pan until 3/4 full. Bake for 23-30 minutes, or until knife comes out clean.
- Cool on wire rack for 15 minutes and then remove from molds onto rack.
- To make glaze, combine ingredients, adding more coconut milk if it’s too thick. You want it to be slightly runny so it’s easy to drizzle. If it’s too runny, add more powdered sugar and place in fridge to cool slightly.
- Drizzle over cooled bundt cakes and garnish with lavender petals.
- Store in airtight container in fridge for 5 days, or counter for 2.
Notes
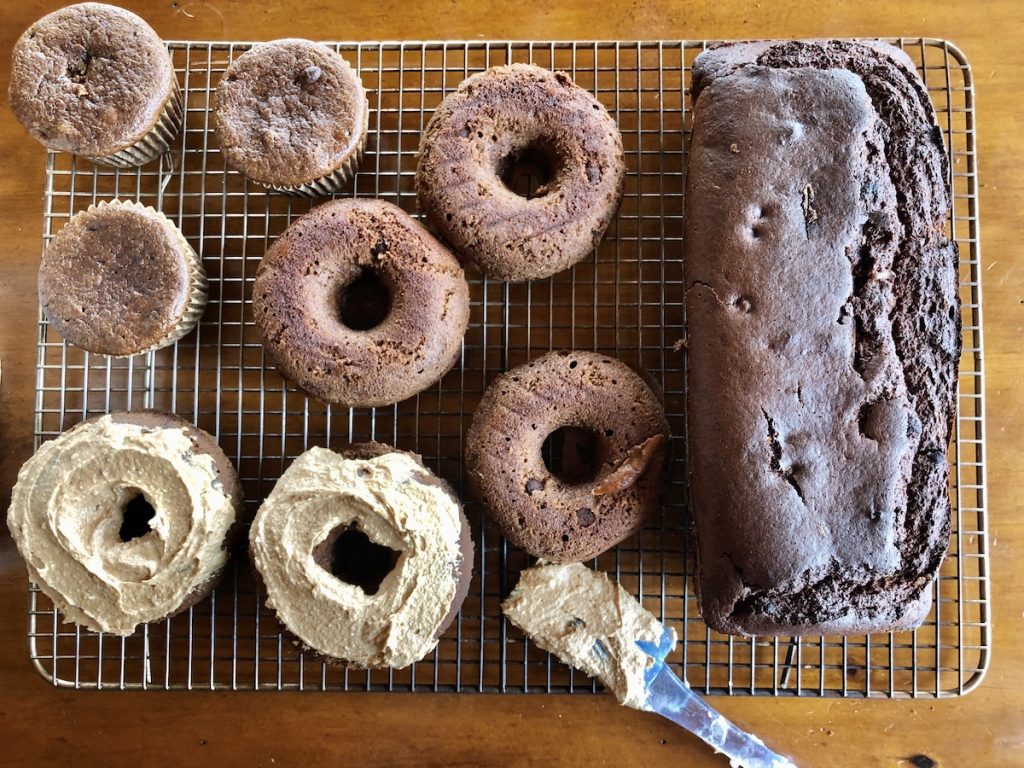
For muffins: bake 20-25 minutes. For loaf pan or large bundt pan: bake 50-65 minutes, or until knife comes out clean.